Spring-JavaWeb的请求和响应(各种类型请求参数传入/响应 )
文章目录
- 请求
- 原始方式(了解即可)
- 第二种方式-简单参数接收(参数作为形参传入即可接收)
- 会发现以上方式post和get均可请求,解决方式看下面
- 第三种方式--将参数封装到实体类中
- 复杂类型封装
- 数组参数(例如多选项)
- 集合参数
- 日期参数
- json格式参数
- 路径参数
- 响应
- 为了便于管理,需要有一个统一的响应结果
- 上图的Result.java的源代码放在这里了,复制即可
- result.java里面最核心的三段代码
请求
原始方式(了解即可)
在Controller做出如下配置
@RestController
public class HelloController {@RequestMapping("/hello")public String hello(HttpServletRequest a){String name=a.getParameter("name");int age=Integer.parseInt(a.getParameter("age"));System.out.println(name+"---"+age);return "ok";}
}
打开浏览器进行访问:
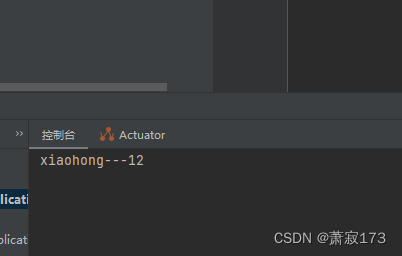
http://localhost:8080/hello?name=xiaohong&age=12
控制台打印结果:
第二种方式-简单参数接收(参数作为形参传入即可接收)
@RestController
public class HelloController {@RequestMapping("/hello2")public String hello(String name,Integer age){System.out.println(name+"---"+age);return "ok";}
}
会发现以上方式post和get均可请求,解决方式看下面
@RestController
public class HelloController {@RequestMapping("/hello2")//这里括号里面的键是value或者name均可public String hello(@RequestParam(name="name",required = false)String name, Integer age){System.out.println(name+"---"+age);return "ok";}
}
注意:@RequestParam中的required属性默认为true,代表该请求参数必须传递,如果不传递将报错。如果该参数是可选的,可以将required属性设置为false。
1.原始方式获取请求参数
Controller方法形参中声明HttpServletRequest对象
调用对象的getParameter(参数名)
2. SpringBoot中接收简单参数
请求参数名与方法形参变量名相同
会自动进行类型转换
3. @RequestParam注解
方法形参名称与请求参数名称不匹配,通过该注解完成映射
该注解的required属性默认是true,代表请求参数必须传递
第三种方式–将参数封装到实体类中
实体类代码(使用ptg插件自动生成)
package com.example.demo2;public class User {private String name;private Integer age;public User() {}public User(String name, Integer age) {this.name = name;this.age = age;}/*** 获取* @return name*/public String getName() {return name;}/*** 设置* @param name*/public void setName(String name) {this.name = name;}/*** 获取* @return age*/public Integer getAge() {return age;}/*** 设置* @param age*/public void setAge(Integer age) {this.age = age;}public String toString() {return "User{name = " + name + ", age = " + age + "}";}
}
Controller代码
@RestController
public class HelloController {@RequestMapping("/hello2")public String hello(User user){ //这里的参数为实体类(上面记得导包哦)System.out.println(user);return "ok";}
}
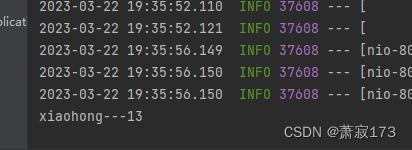
访问接口:http://localhost:8080/hello2?name=xiaohong&age=13
打印信息:

这种方法就是把参数封装到实体类了,用实体类接收参数
复杂类型封装
定义类
private String province;
private String city;
//以下java代码省略,自己生成
同上的user实体类中添加一个复杂属性(address这一个类)
private address address;
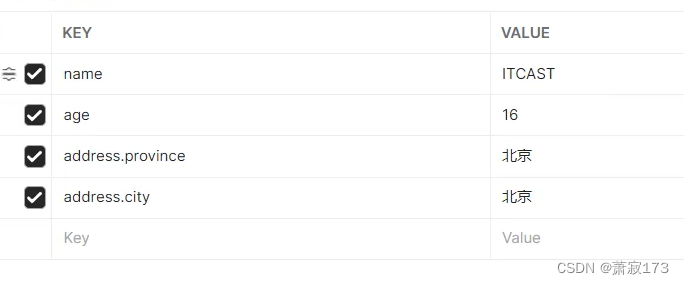
访问端口: http://localhost:8080/hello2?name=ITCAST&age=16&address.province=北京&address.city=北京
看效果即可

数组参数(例如多选项)
数组参数:请求参数名与形参数组名称相同且请求参数为多个,定义数组类型形参即可接收参数
@RestController
public class HelloController {@RequestMapping("/hello2")//这里括号里面的键是value或者name均可public String hello(String[] hobby){ //hobby就是参数名,请求以这个参数名为准System.out.println(Arrays.toString(hobby));return "ok";}
}
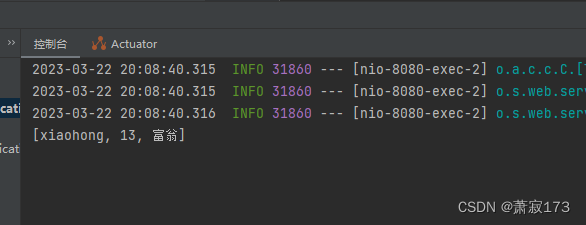
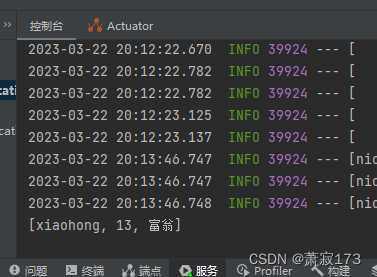
请求接口:http://localhost:8080/hello2?hobby=xiaohong&hobby=13&hobby=富翁
效果图:
集合参数
集合参数:请求参数名与形参集合名称相同且请求参数为多个,@RequestParam绑定参数关系
因为多个值默认会封装绑定到数组当中的,如果要封装到集合,就需要@RequestParam绑定参数关系
@RestController
public class HelloController {@RequestMapping("/hello2")//这里括号里面的键是value或者name均可public String hello(@RequestParam List hobby){   //hobby就是参数名,请求以这个参数名为准System.out.println(hobby);return "ok";}
}
请求接口和效果与上图一样:
http://localhost:8080/hello2?hobby=xiaohong&hobby=13&hobby=富翁
日期参数
日期参数:使用@DateTimeFormat注解完成日期参数格式转换
@RestController
public class HelloController {@RequestMapping("/hello2")//时间格式需要转换public String hello(@DateTimeFormat(pattern = "yyyy-MM-dd HH:mm:ss")LocalDateTime updateTime){System.out.println(updateTime);return "ok";}
}
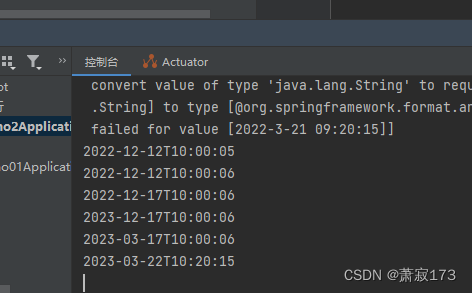
请求的接口地址:http://localhost:8080/hello2?updateTime=2023-03-22 10:20:15
效果图:
json格式参数
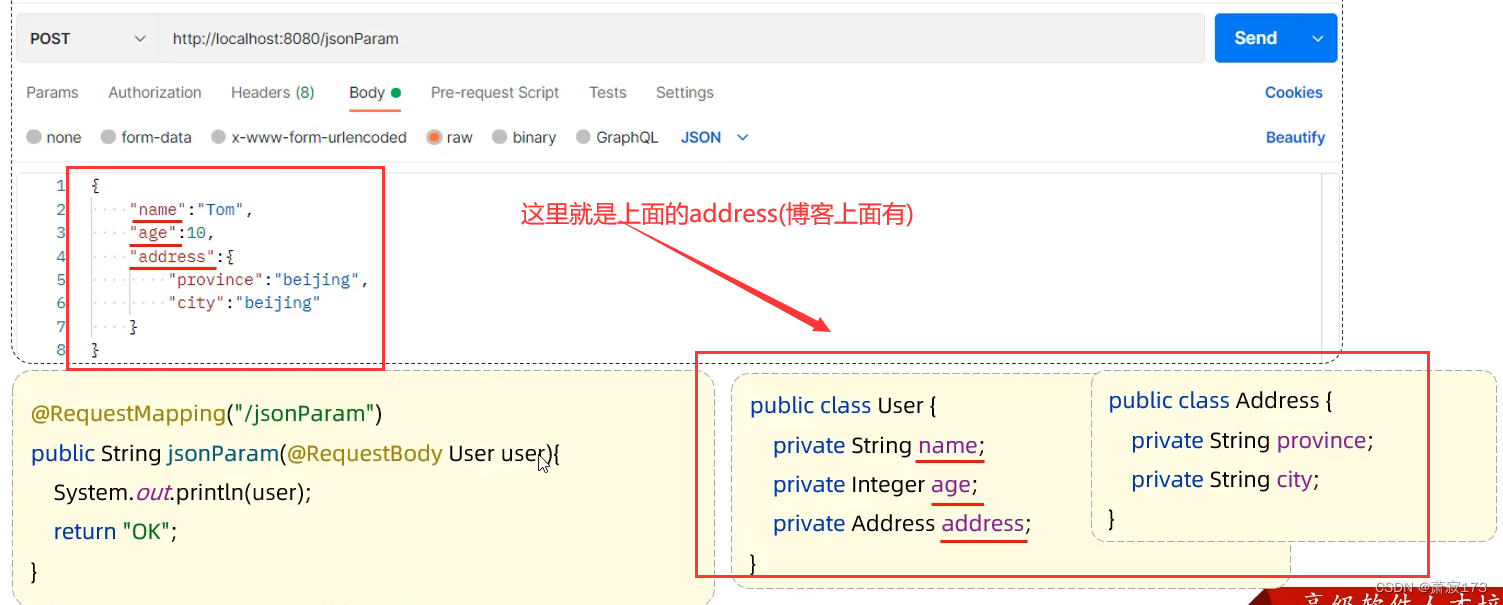
json请求的数据需要放到请求体当中(因此这里使用post请求)
JSON参数:JSON数据键名与形参对象属性名相同,定义POJO类型形参即可接收参数,需要使用@RequestBody标识
@RestController
public class HelloController {@RequestMapping("/hello2")public String hello(@RequestBody User user){ //将json类型的请求体数据封装到user里面System.out.println(user);return "ok";}
}
user和上面一样
路径参数
路径参数:通过请求URL直接传递参数,使用{.…}来标识该路径参数,需要使用@PathVariable获取路径参数
这个类似于vue路由的动态参数
@RestController
public class HelloController {@RequestMapping("/hello2/{id}")public String hello(@PathVariable Integer id){ //id为接收参数System.out.println(id);return "ok";}
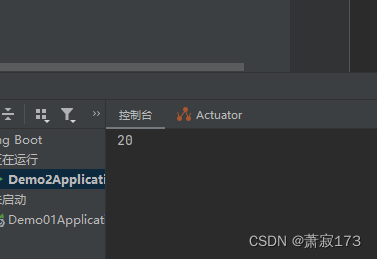
}请求路径:http://localhost:8080/hello2/20
效果图:
多个形参传参方式
@RestController
public class HelloController {@RequestMapping("/hello2/{id}/{name}")public String hello(@PathVariable Integer id,@PathVariable String name){System.out.println(id+"---"+name);return "ok";}
}
请求路径:http://localhost:8080/hello2/20/张三
效果图:
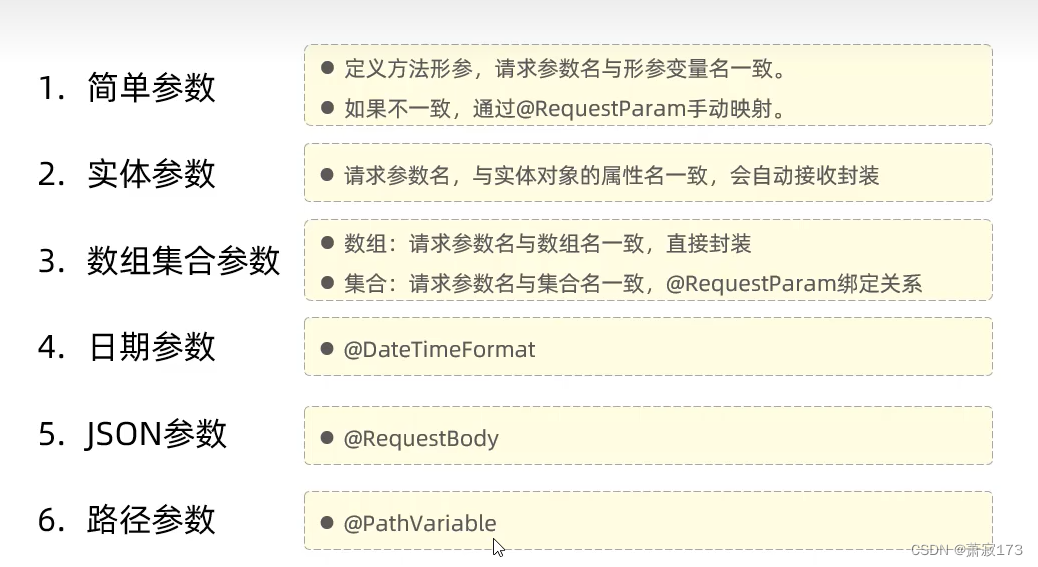
请求总结:
响应
@ResponseBody
类型:方法注解、类注解
位置:Controller方法上/类上
作用:将方法返回值直接响应,如果返回值类型是实体对象/集合,将会转换为JSON格式响应
说明:@RestController = @Controller + @ResponseBody ;
为了便于管理,需要有一个统一的响应结果
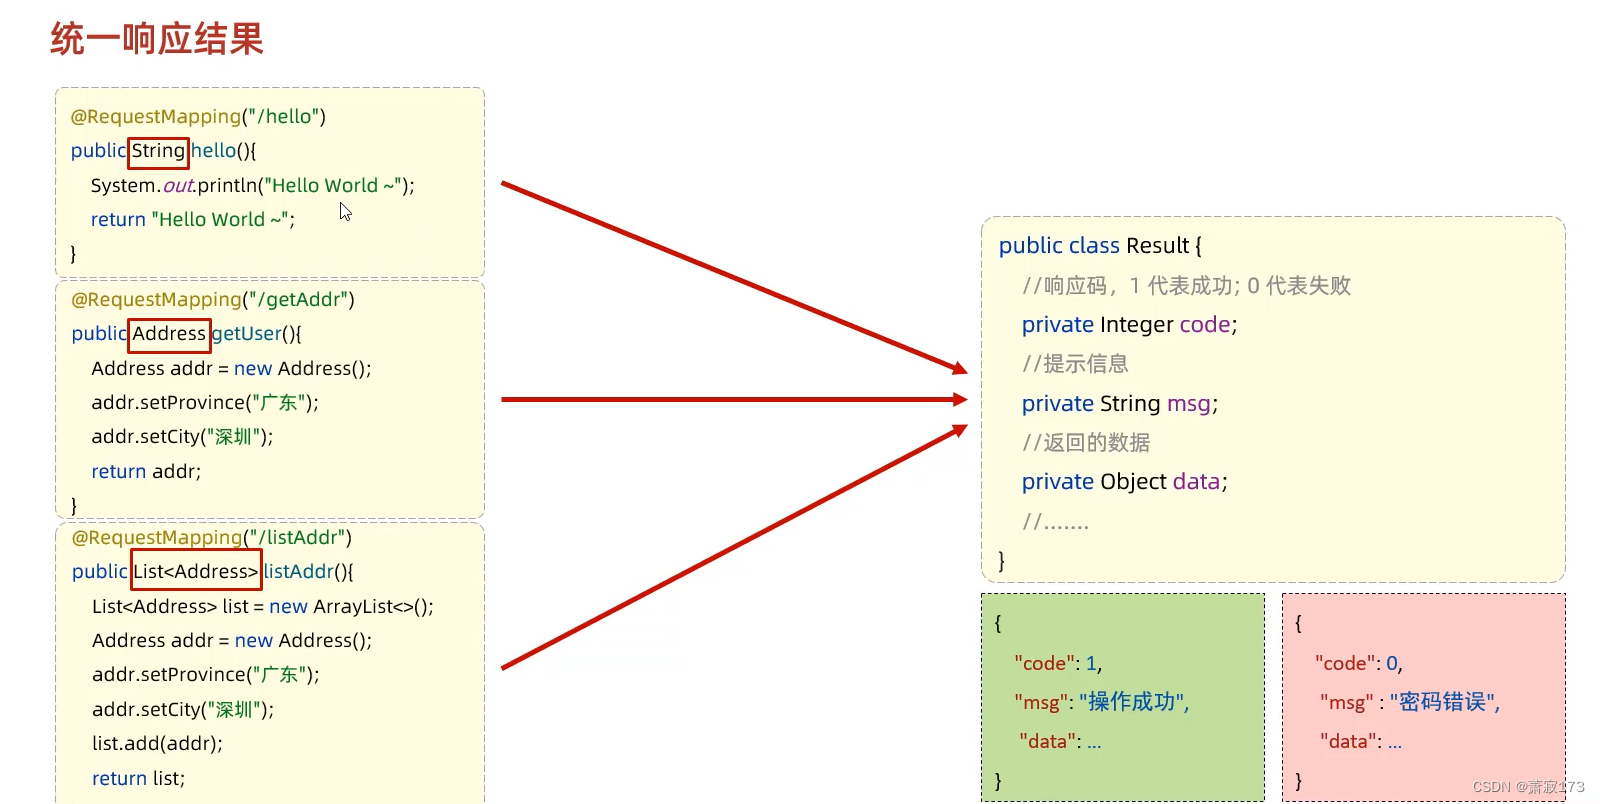
上图的Result.java的源代码放在这里了,复制即可
package com.example.demo2;/*** 统一响应结果封装类*/
public class Result {private Integer code ;//1 成功 , 0 失败private String msg; //提示信息private Object data; //数据 datapublic Result() {}public Result(Integer code, String msg, Object data) {this.code = code;this.msg = msg;this.data = data;}public Integer getCode() {return code;}public void setCode(Integer code) {this.code = code;}public String getMsg() {return msg;}public void setMsg(String msg) {this.msg = msg;}public Object getData() {return data;}public void setData(Object data) {this.data = data;}public static Result success(Object data){return new Result(1, "success", data);}public static Result success(){return new Result(1, "success", null);}public static Result error(String msg){return new Result(0, msg, null);}@Overridepublic String toString() {return "Result{" +"code=" + code +", msg='" + msg + '\'' +", data=" + data +'}';}
}
result.java里面最核心的三段代码
public static Result success(Object data){return new Result(1, "success", data);}public static Result success(){return new Result(1, "success", null);}public static Result error(String msg){return new Result(0, msg, null);}
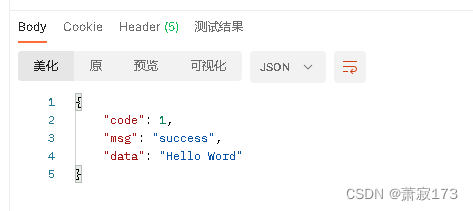
在这里演示第一种代码的使用
@RestController
public class HelloController {@RequestMapping("/hello2/{id}/{name}")public Result hello(@PathVariable Integer id,@PathVariable String name){System.out.println(id+"---"+name);return Result.success("Hello Word");}
}
访问接口,返回值为:
上一篇:数字电路3. SR 触发器
下一篇:从汇编角度看函数调用过程